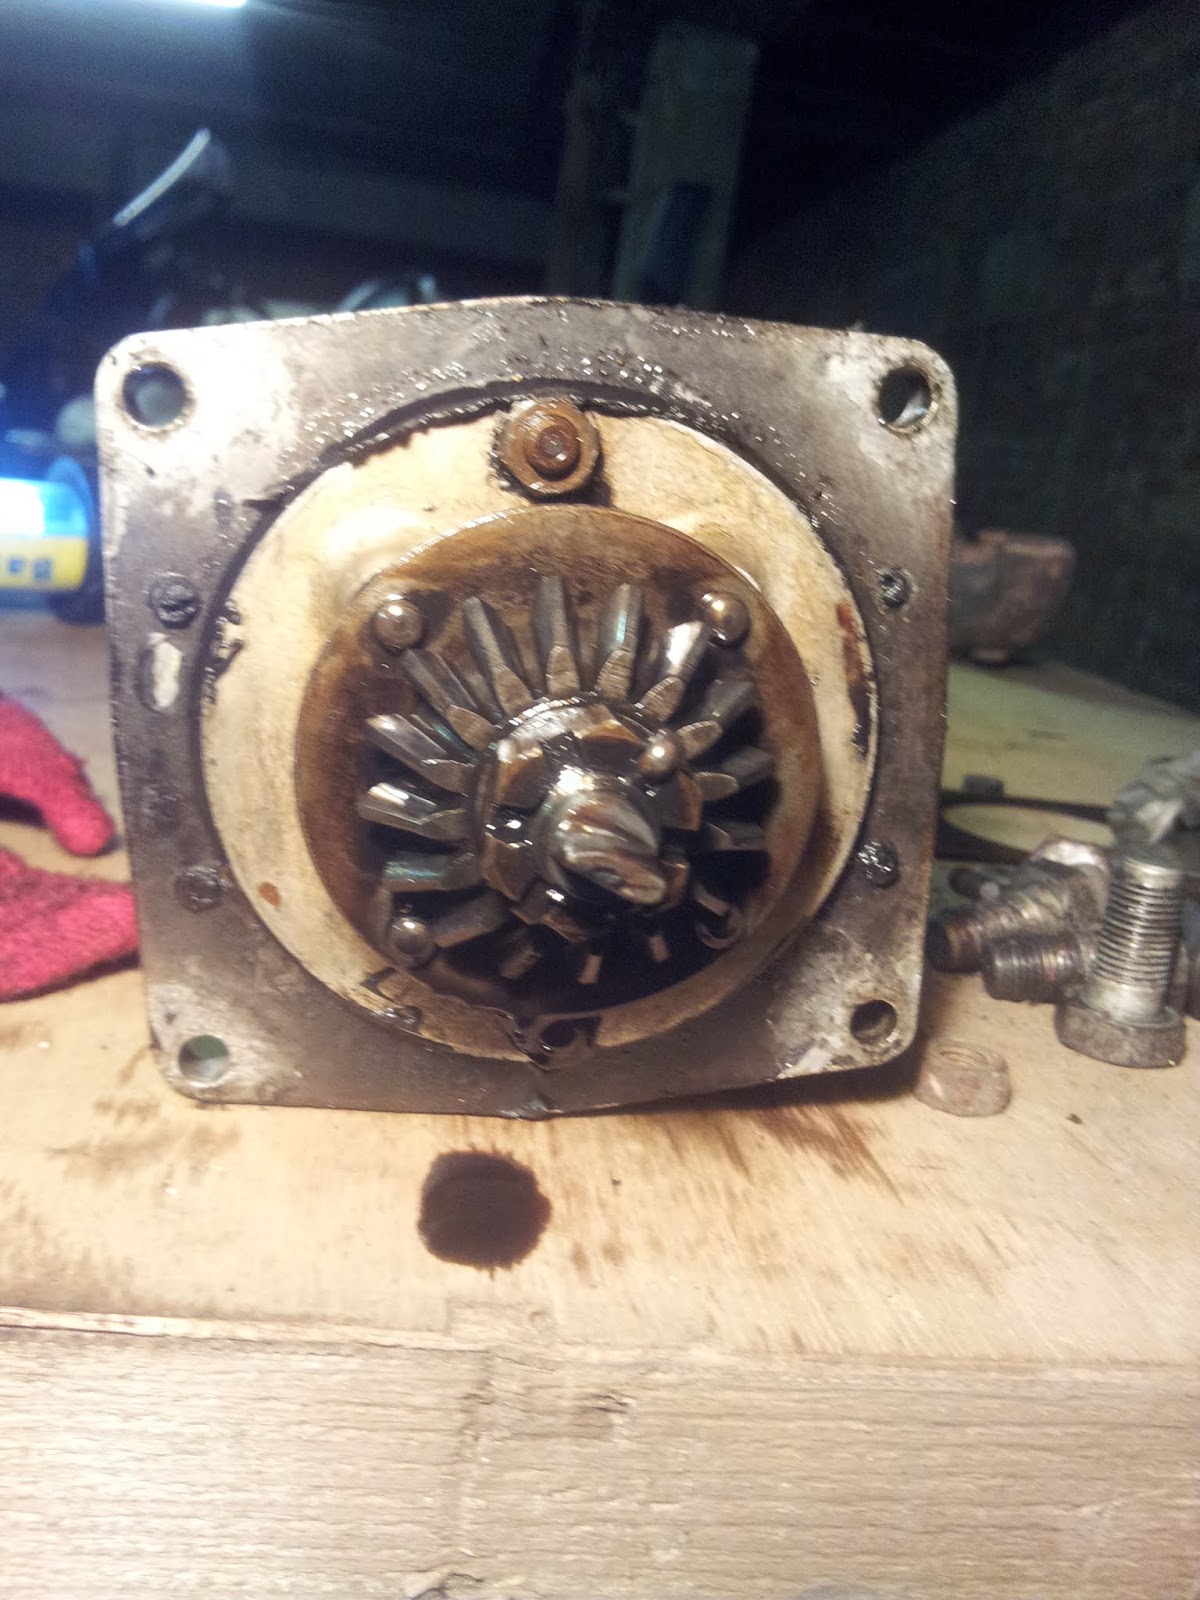
There are some tricks you should do when it comes to the dynamo.
1) When removing the cam shaft housing, loosen the rear bolts first and the ones by the distributor last.
When attaching again later, fasten the front ones first and the last ones last. Do it the other way around, and the cam shaft will loose half of its rear foot with a distinct and sickening crack!
2) The (cog)wheels are all running in the same engagement. Thus, you must make sure they get the same engagement after you have checked the dynamo!
On the swing wheel is a large marking in the form of a +-sign on the rim of the wheel. You can see it when you remove the ventilation cap and then index the swing wheel around using a thin wooden board to the kick starter.
Center the +-sign in the middle of the (top) ventilation hole.
Take a CLOSE look at the top wheel of the dynamo. You will find that one of the lower corners of the teeth are filed off. It is tricky to see, but it is Mark the aluminum with a marker pen or a scratch where the tooth is positioned so that you can put it back in the correct during assembly. If not, there is a risk that the lower dynamo engagement will whine pitifully for quite a few hundred miles.
3) When disassembling the dynamo, loosen the bottom nut first but then secure it, while loose, with a split. Hold the dynamo over the bottom screw in a vice when doing the next operation. You have to make a tool for the top crown nut. I made one out of a socket in a socket wrench set. Lots of filing, but works like a charm. MIND all shim-ing so you get it back the way it was! Remove the brushes before removing the dynamo rotor or your brush holders might become acutely doomed!
4) When you got the dynamo rotor out, measure resistance between each commutator lamell and the next with an ohm meter. You should get the same resistance (one to a few ohms) between ALL of them. If there are pairs that do not have any connection or have radically different resistance, you have faulty commutator solderings and have to replace the dynamo rotor. If the rotor is fine, refresh the commutator groves, using a Dremel disc or (old school) a ground thin hack saw blade. Depth up to 1-1.5 mm. (there are 25.4 mm to an inch... Welcome to Planet Metric! >=) ). Polish the commutator with fine emery cloth. Recheck ohms between every lamell and the next.
For reference so I know how to put it back together:
Explosion view:
Here it is removed:


No comments:
Post a Comment